ON THIS PAGE:
•How to Enable/Disable the Biopsychosocial History form for use on the client portal
•Where to find and fill out the Biopsychosocial History form
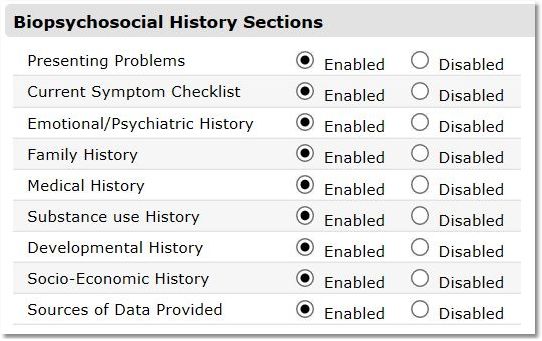
•How to enable/disable sections of the Biopsychosocial History form
How to Enable the Biopsychosocial History form for use on the client portal:
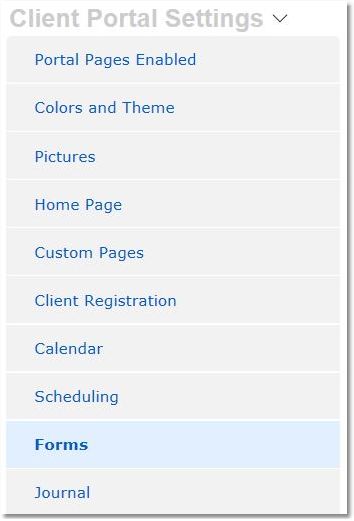
1. Select the Settings icon and then click on the Client Portal Settings tab.

2. Select Forms from the menu options on the left:

3. Enable/Disable access to the Biopsychosocial History form from the portal by selected the appropriate radio button.

4. If enabled, select to set the form as optional or Required for clients.

NOTE: If Required, the form will pop up automatically when the client logs in and will continue to pop up until the form has been saved as complete.
If Required with a Start Date, the form will only pop up for clients registered on and after the date listed.
If the form is set as optional, the Start Date does not apply.
5. Click the Save Settings button.

Where to find and fill out the Biopsychosocial History form:
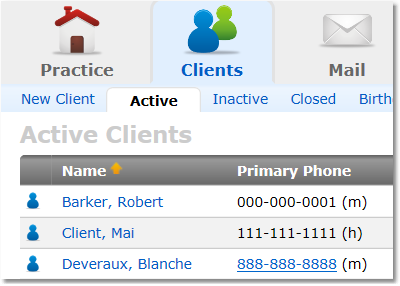
1. Select the Clients icon, and then click on the desired client’s name from the Active client list.

2. Click on the Treatment link.

3.Scroll down to the Biopsychosocial History section where you can view completed forms or create a new Biopsychosocial History.
4. To create a new Biopsychosocial History click the New Biopsychosocial History link.

5. Complete the form and click the Save Completed button.
How to disable sections of the Biopsychosocial History template:
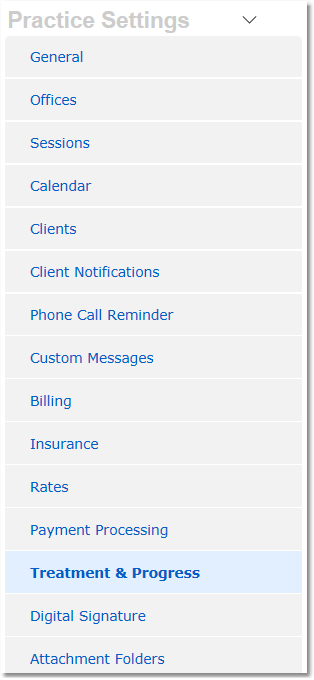
1. Select the Settings icon and then the Practice Settings tab.

2. Select the Treatment & Progress option from the menu options on the left.

3. Click the "click here to manage" link under Treatment & Progress Note Interventions.

4.Click the radio buttons to enable/disable sections of the Biopsychosocial History form.

4. Click the Save Settings button.

