Your unique client portal will act as your main point of contact with clients outside of office visits. You can customize the client portal colors to match your existing website - this helps clients feel safe knowing they are not being taken to a new place that is totally independent from your site. Alternatively, if you don't have an existing website, you can add pages to the client portal allowing it to stand alone as your main professional site.
Tip: Nearly all settings and images can be changed. We recommend you set things how you imagine they will work best, then return to make changes as needed once you start testing portal functions and appearance as a client.
NOTE: Your account manager is adept at editing and setting up client portals. Please contact your account manager for assistance or clarification with customization features.
How to change the look of your secure client portal:
1. Select the Settings icon and then click on the Client Portal Settings tab.
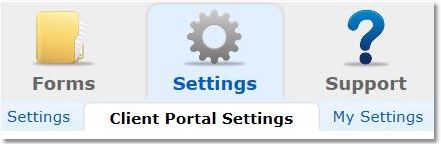
2. Select a section from the menu options on the left:
Portal Pages Enabled
Portal Address - View the URL for your portal. Click the link at any time to be taken to your portal Home page.
Enable Portal Pages - Choose which pages are available to registered members. These pages will only show to clients who are logged in.
Built-In Portal Pages - These pages are fixed and will remain enabled. These pages will only show to clients who are logged in.
Colors and Theme
Modify Colors & Theme - Adjust colors, fonts, and icons displayed on your client portal. The preview window at the top displays changes as they are made in real-time.
Pictures
Heading Picture - This displays in the heading bar at the top of your client portal. If nothing is uploaded here, the image will automatically pull from your Home Page Picture.
Home Page Picture - This image will display next to the practice summary text on your Home page prior to clients logging in.
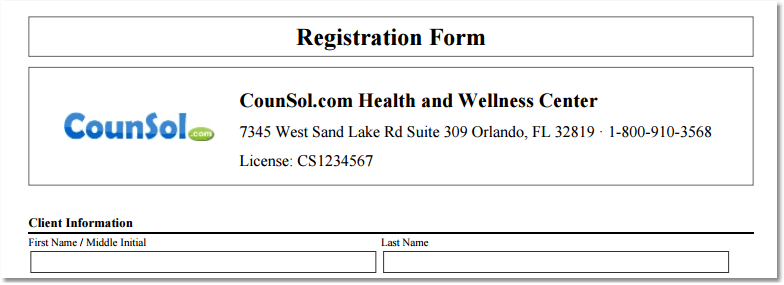
Form Logo - This image displays in the letterhead of all printed Forms and Invoices.

Office Pictures - For each location you have listed you can upload one image to show on the Office page of your portal.
Home Page
Home Page Text - This will serve as the introduction to your practice and/or portal on the Home page of your client portal. While there are no requirements, one to two paragraphs are recommended for aesthetic consideration.
Custom Pages
Custom Pages - Clearly communicate the services your offer, answer frequently asked questions, or display any additional information you require on your client portal by creating additional pages.
1. Simply click the Add New Page button to create a new client portal page.
2. Select a Page Type from the drop down menu.
Note: Selecting the page type also selects the menu icon for that page. Custom pages display only when clients are not logged in to the portal.


3. Type a Page Title.
Note: The page title is only for your reference when looking at your page list, it does not display anywhere but on your page list.
4. Type a new Link Name (to be displayed below the page's icon), or leave the default name in place.
5. Enter any text or images you would like seen on your page in the Page Body text box.
6. Click Save.
Client Registration
If enabled, the Registration page allows clients to enter their information, initiate the welcome email and gain access to the portal and its features all without ever having to speak to you. If you do not want to allow that option, disable the Registration page in the Portal Pages Enabled section.
Registration Method - The Full Form will display all contact and demographic fields, as well as any terms or policies that need signing, for the client to complete prior to gaining access to the portal. The Quick Form asks only for basic information (Name, Phone, Email, and optional Emergency Contact) for the client to gain access to the portal.
Register check Duplicate Phone - This prevents clients from registering if they enter a phone number associated with an existing account. This feature helps prevent duplicate accounts and any client accidentally receiving notifications meant for another client.
Register check Duplicate Email - This prevents clients from registering if they enter a Email number associated with an existing account. This feature helps prevent duplicate accounts and any client accidentally receiving notifications meant for another client.
DOB Required - Require client to enter date of birth
Gender Required - Require client to enter gender
Additional Gender Options - Enable Transgender and/or Non-Binary as gender options
Show "Minor requires legal guardian's email" - Recommended if you see minor clients
Allow "Bill-to" Contact Option - Allow client to enter bill-to contact information for third party payer/sponsor
Emergency Contact Required - Require client to enter Emergency Contact info
Allow Edit Contact Information - Allow clients to edit their contact info after they have registered
Calendar
Registered Client default Calendar View - Default view for clients using the availability calendar from inside the client portal
Show Calendar Availability to unregistered Guests - Shows/Hides your availability calendar on the outside of the portal to unregistered guests
Unregistered Guests default Calendar View - Default view for guests using the availability calendar from outside the client portal
Show Session Schedule rule name next to length - Displays Rule (service) name next to each option for clients who are allowed to self-schedule
NOTE: If you need assistance with customizing your client portal please contact your account manager.