If there aren't enough hours in the day to accommodate all the clients seeking your help (hooray!) the wait list provides a solution for those clients wanting to immediately be informed when a slot becomes available. A client can be added to the wait list from either your side or the portal end. The preferred date range, service type and location are selected, and when a spot becomes available, all clients whose listed interest includes the open slot time will be notified by email regarding the availability. The email to clients serves only as a notification - clients will not be booked automatically.
How to add a client to the Wait List
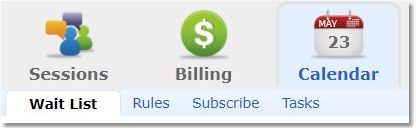
1. Click on the Calendar icon, then the Wait List tab in the light blue bar.
2. Choose from the drop-down list the client you wish to add to the Wait List, then click Add.
3. Set the specifications for the appropriate session type and details, then click the Add Client to Wait List button.
Wait List Management Features

Notes
If you did not make notes when adding the client to the wait list, click the green "+" icon to add notes to the client's request. If you have notes saved for the wait list request, hover your mouse over the notepad icon to see the saved notes.
Priority
Mark a wait list client as a priority booking by clicking the star in the client's details row. The star only acts as an indicator - it does not enable any actions for the client.
Status
"Waiting" means the client is waiting for a slot to become available. "Pending" indicates the client has been alerted to an opening but has not yet booked a session.
Remove
To take a client off the wait list, click the red "X" icon.