Client labels are used for classifying clients for sending secure announcements, assigning forms and attachments and searching.
Note: Labels can either be used internally (not viewed by clients) or publicly, so that clients can view assign to themselves an appropriate label.
ON THIS PAGE:
•How to create a client label
•How to assign a label to a current client
•How to assign a label to a new client
•How to assign a label to a form
•How to add a Label to multiple clients at once
How to create a client label.
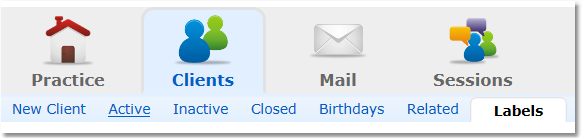
1. Select the Clients icon, then click on the Labels tab.
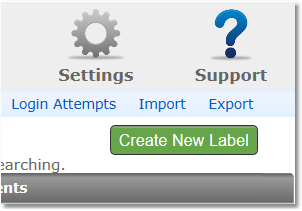
2. Click the Create New Label button.
3. Enter a Label Name.

4. (Optional) If the Label should be made available on the portal for clients to assign to themselves at registration, click Yes under Allow New Clients...
5. (Optional) Override the internal label name by entering an alternative "public" title for the label in the Label name as shown on Portal field.

6. Click the Save button.

How to assign a label to a current client.
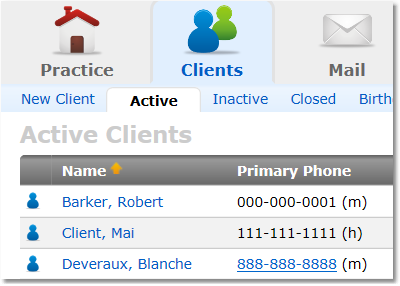
1. Select the Clients icon, and then click on the desired client’s name from the Active clients list.
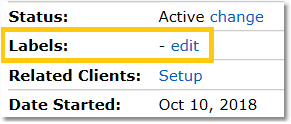
2. On the client Overview page, under Client Details, you will see the Labels: info bar. Click on the Edit link.
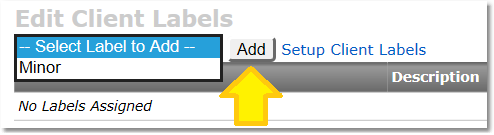
3. Select a label from the drop-down list and click the Add button.
How to assign a label to a new client.
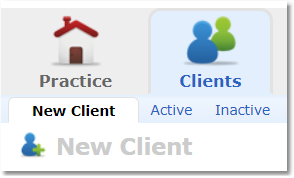
1. Select the Clients icon, then click the New Client tab.
2. Enter the client's information.
3. Under the General Info section, select a Label from the drop-down Client Label menu.
Note: Only Labels already created in the Label section can be assigned to a new client.
4. Click the Save New Client button.
How to assign a label to a form.
Note: Once a form is given a label, only clients assigned the designated label will be able to view this form.
1. Select the Forms icon.
2. Locate the form under the Active Forms tab list, then click Edit in the info bar for the form.

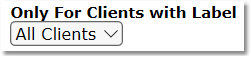
3. Locate Only For Clients with Label and select the desired label from the drop-down list.
4. Click the Save button.
How to add a Label to multiple clients at once
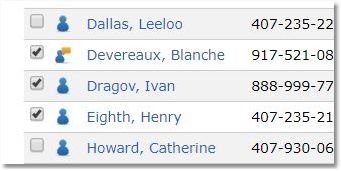
1. Choose the Clients icon, and then click tab of the current status list containing the clients you wish to change.
2. Check the boxes at the left in front of each client to whom you will be applying a new label.
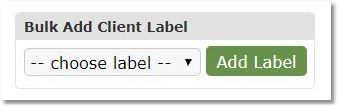
3. At the bottom of the list, click the "Display Bulk Change Options" toggle.
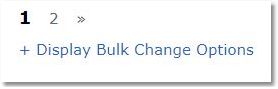
4. Select the new label for the selected clients from the drop-down menu and click the Add Label button.