How to add a new form:
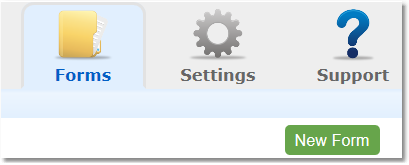
1. Select the Forms icon.
![]()
2.Click the New Form button.

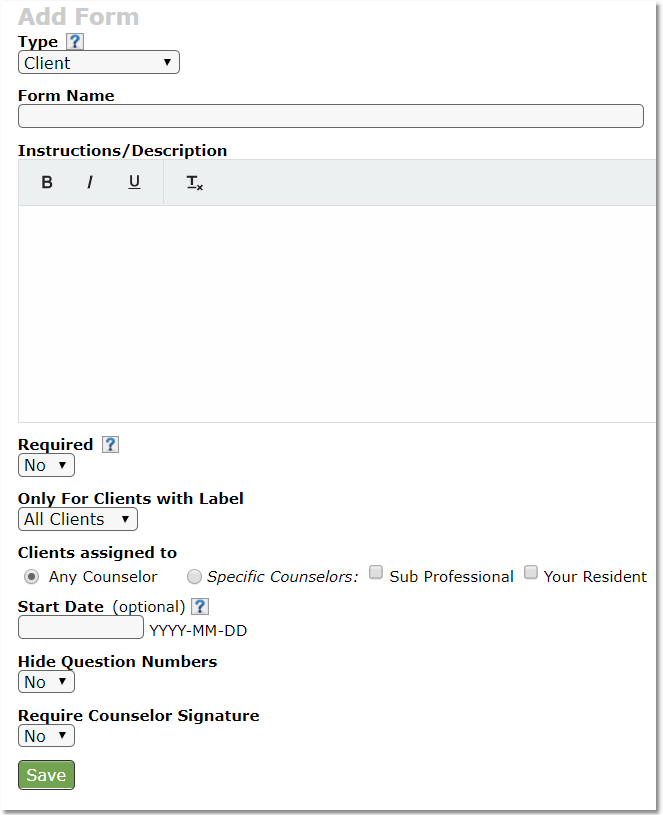
3. Choose the form Type. Description of Form Types
4. Enter the Form Name.
5. Enter Instructions/Description (optional).
6. Select Yes/No for whether or not to make form Required.
Tip: Making the form required will force clients to fill out the form after logging in. This does not apply to internal forms. For more information on New Required Forms Click Here
7. Only for clients with labels (optional) Choose a Label to attribute to the form if you have labels set up in the system and want only those clients with the chosen label will have access to form. Read through the Client Labels explanation if you are not yet familiar with their use.
8.Start Date (optional) For required forms only. This allows you to control which clients will be required to fill out this form. Leaving the start date blank will prompt users registered at any date (past, present, and future) to fill out the form. Setting a specific date, like today for example, would only require clients added from today forward to complete this form. Any clients already in the system prior to this date will not be required to complete the form.
9. Choose Yes/No to hide/show the question numbers on your form.
10. Choose Yes/No to Require Counselor Signature on your form.
NOTE: With this feature enabled, a form completed by the client will display in your Unsigned forms area until you have reviewed and electronically signed to acknowledge the completed form.

11. Click Save.
For instructions on adding questions Click Here