Assigning the appropriate status to clients is a good way to keep your client list organized and increase work efficiency.
Statuses explained:
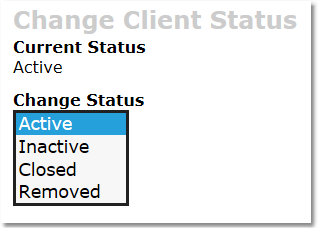
Active - Currently seeing Client - Client has access to Client portal and receives notifications
Inactive - Not currently seeing Client - Client has access to Client portal and receives notifications
Closed - No longer seeing Client - Client does not have access to Client portal and will not receive notifications
Removed - Never saw Client - Client does not have access to Client portal and will not receive notifications
Locked - Client has failed login multiple times - Counselor must send a Password Reset and/or Username Reminder.
ON THIS PAGE:
•How to change the status for an individual
•How to change the status for multiple clients at once
How to change an individual client's Status:
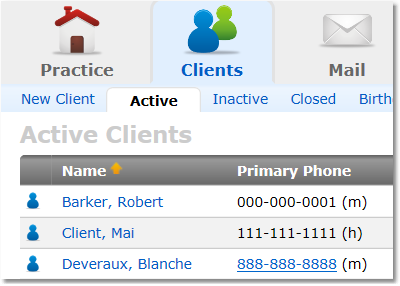
1. Choose the Clients icon, and then click the desired client’s name from the appropriate client list.
2. In the Account Details area of the client’s Overview page you will see Status: and a blue Change link next to the client's current status.
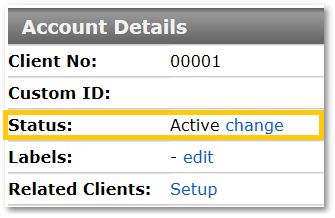
3. Click the Change link and select the status you wish to designate. Then click Save.
How to change the status for multiple clients at once
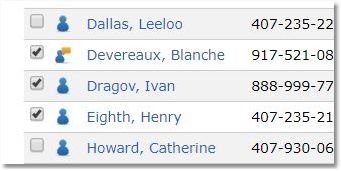
1. Choose the Clients icon, and then click tab of the current status list containing the clients you wish to change.
2. Check the boxes at the left in front of each client whose status you will be adjusting.
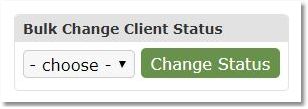
3. At the bottom of the list, click the "Display Bulk Change Options" toggle.
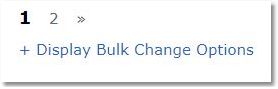
4. Select the new status for the selected clients from the drop-down menu and click the Change Status button.