How to schedule a Group Session (Non-Related Clients):
NOTE: You can NOT schedule a video session with a group. Video sessions must be a one-to-one connection.
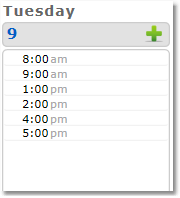
1. Select the Calendar icon and click on the desired session time on the calendar.

2. Under the Format settings, select Group Session.
3. Enter a Group Name, Group Description, and Group Size (the max number of clients allowed in the group).
4. Select a Client Registration option.
Options explained:
Enable - Clients can see the group session on the client portal and can sign themselves up for the session.
Disable - Clients can see the group session on the client portal but can only be added to the session by you.
Hidden - The group session is not visible on client portal.
5. Enter a Short Name (abbreviation, between 2 and 5 characters) to show on the calendar.
6. Select Type and Length, then click Continue.
7. Review and edit the details (Date, Time, and Rate) of the appointment as necessary, then click the Save Appointment button.
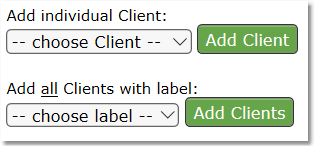
Note: If Client Registration is set to Disabled in your preferences, add clients to the session manually by selecting each client from the drop-down list on the session details page, and then clicking the Add Client button.
8. Optional: Add clients to the session by selecting individuals from the Client drop-down menu, or add all clients with a specific Label by selecting the appropriate label from the label drop-down menu.

NOTE: To remove a client from the group, see the Cancel Session page.